Thinking about listing your Ardsley home and want it to stand out from day one? In a market where typical values hover around the high $900Ks, even small presentation upgrades can make a real difference in interest and offers. Many agents report that well-staged homes sell faster and can inspire stronger bids because buyers better visualize living there. This local checklist walks you through exactly what to do, what it might cost, and how to time it for a smooth launch. Let’s dive in.
Why staging matters in Ardsley
Ardsley’s price point means every showing counts. According to local value trends, the village sits in a higher bracket for Westchester, so smart prep can translate into meaningful returns if it reduces days on market or improves perceived value (Zillow’s Ardsley overview).
Buyers in this area often prioritize the Ardsley Union Free School District, proximity to Metro-North stations, and move-in ready condition (Ardsley village profile). Westchester’s well-known property tax burden also makes buyers comparison-shop closely, so first impressions matter (Westchester property tax context).
Industry surveys back up the effort. Many agents note staged homes tend to sell faster and sometimes for more, and most buyer agents say staging helps clients see the home as theirs (summary of NAR staging findings).
What staging costs and where to invest
You can stage effectively at different budget levels. A DIY refresh focused on cleaning, paint, and small fixes can run a few hundred to a couple thousand dollars. Partial or full professional staging that includes furniture rental typically ranges higher based on rooms staged and rental duration (cost overview).
If you prioritize just a few rooms, focus on the living room, kitchen, primary bedroom, dining room, and outdoor spaces. Those areas most often sway buyers and should look photo-ready and welcoming (room priorities highlighted by industry surveys).
Your Ardsley staging checklist
Start with buyer-ready basics
- Deep clean top to bottom, including windows, baseboards, and grout.
- Declutter and depersonalize. Remove about half of personal items and extra furniture so rooms feel larger (core staging steps).
- Neutralize with touch-up paint and simple fixture updates where dated.
- Schedule professional photography after staging is complete.
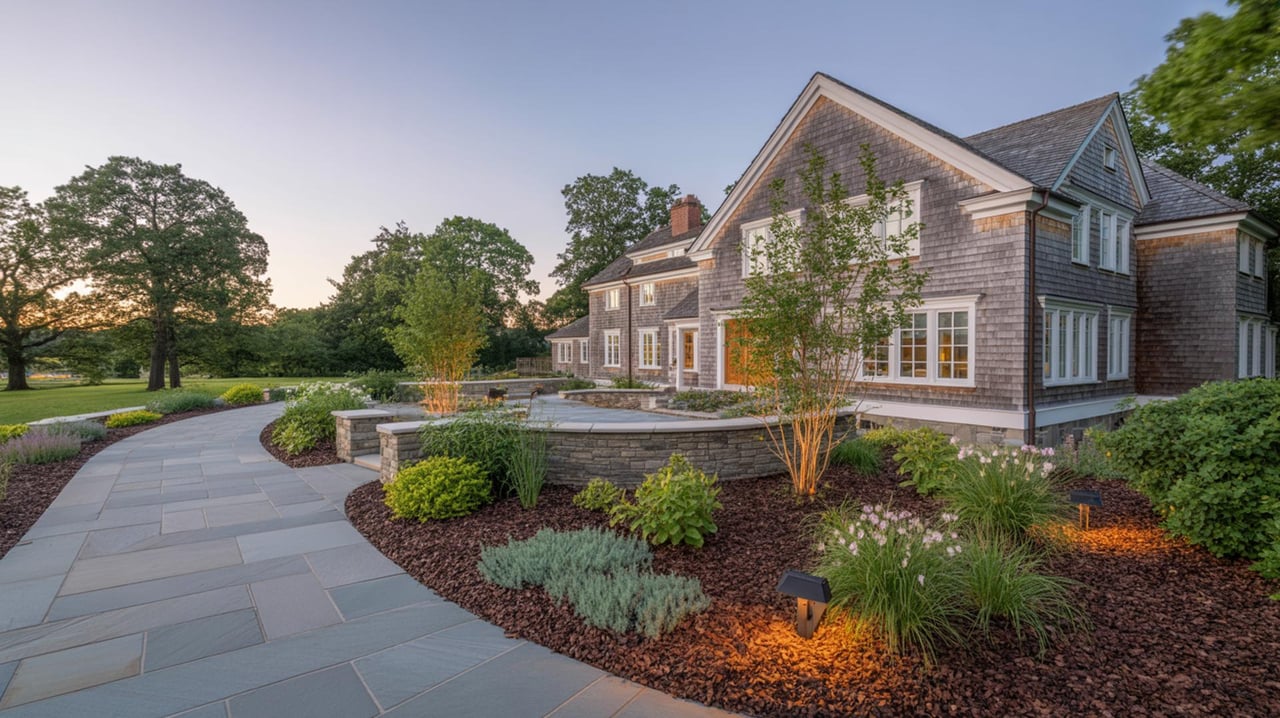
Curb appeal that clicks
- Trim hedges, edge beds, mow, and power-wash walkways.
- Repaint or clean the front door, replace a worn doormat, and add one tasteful planter.
- Ensure house numbers and mailbox are clean and legible.
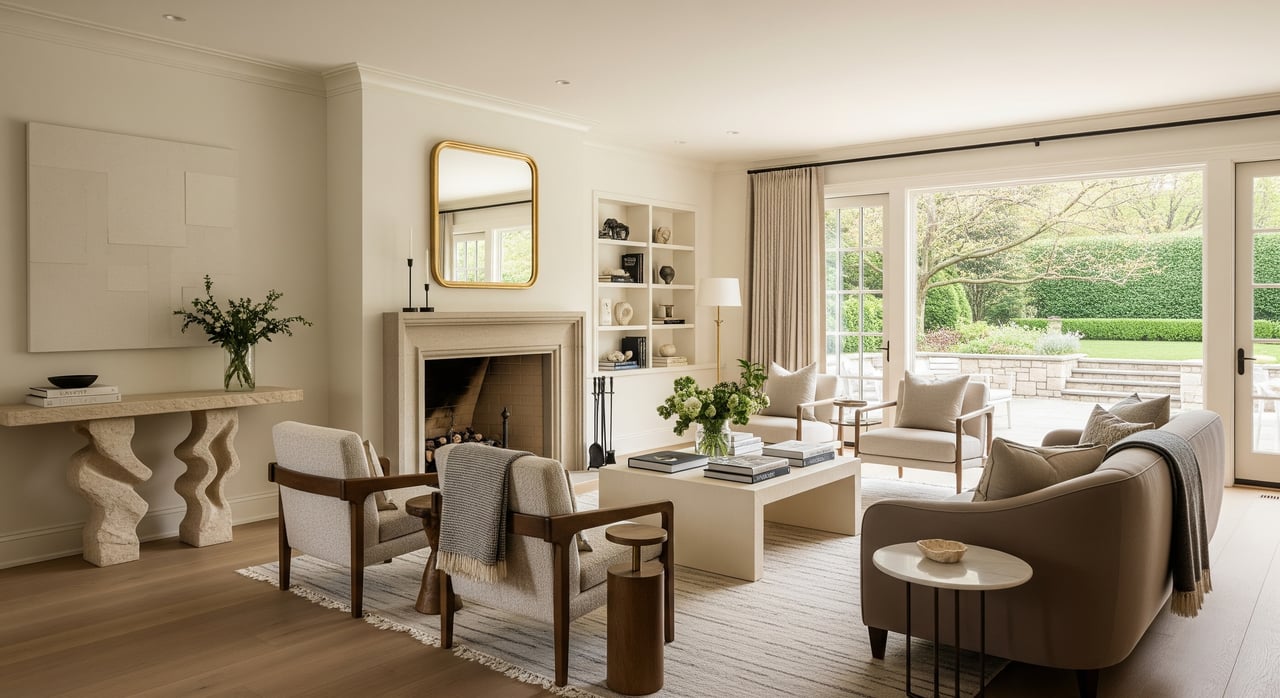
Living room flow and light
- Remove oversized pieces that block walkways and windows.
- Create a simple conversation area with balanced seating.
- Add warm, layered lighting with updated bulbs for a bright, inviting feel.
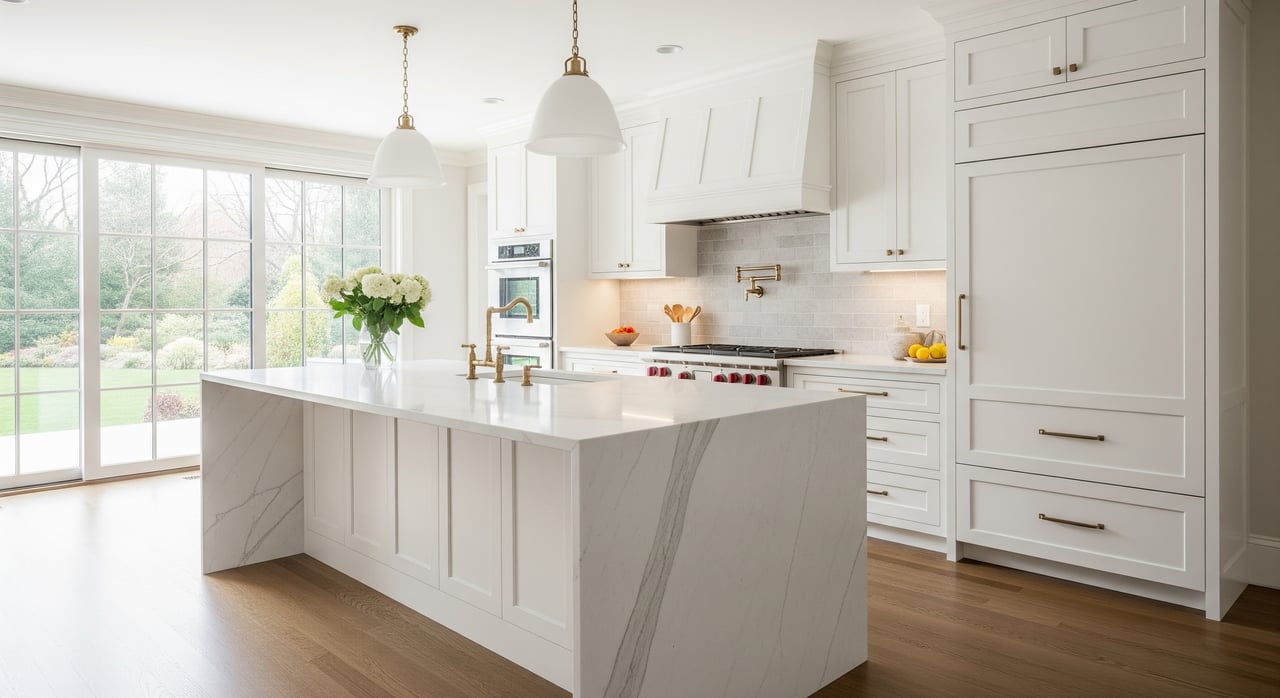
Kitchen that sells
- Clear counters except one or two curated items like a fruit bowl or cookbook.
- Deep clean appliances, replace tired caulk, and swap dated hardware if needed.
- If space allows, style a small coffee station to suggest daily ease.
Calming primary bedroom
- Use neutral bedding and two matching lamps to frame the bed.
- Remove extra furniture so the room reads as spacious and restful.
- Clear surfaces and closets to show ample storage.
Fresh, hotel-clean bathrooms
- Re-caulk or re-grout where needed and replace stained shower curtains or liners.
- Update a basic mirror or light fixture if it dates the room.
- Display crisp white towels and minimal accessories.
Defined home office or flex space
- Stage a clear workspace with a desk, task chair, and lamp.
- Keep the backdrop tidy for virtual tour shots.
- Label other flex rooms clearly, such as playroom or gym.
Dining made simple
- Set a light vignette: runner, simple centerpiece, and uncluttered place settings.
- Remove china displays or excess furniture that narrows walkways.
Lower level and storage areas
- Brighten with extra lamps or brighter bulbs to reduce shadows.
- Define the use: media area, play zone, or tidy storage.
- If unfinished, clean thoroughly and keep bins labeled and stacked.
Outdoor spaces for every season
- Spring and summer: set a seating vignette on the deck or patio with clean cushions and an outdoor rug.
- Fall and winter: keep walkways clear of leaves, snow, and ice. Use warm lighting and evergreen planters for a welcoming entry.
Small updates with big impact
- Replace dated door hardware, outlet covers, and faucets for a quick lift.
- Schedule carpet cleaning or consider refinishing worn hardwoods.
- If budget is tight, stage the top three rooms first: living room, kitchen, and primary suite.
Virtual vs. physical staging
- Virtual staging can transform listing photos at a fraction of the cost, but it should be disclosed and does not influence the in-person experience the way physical staging can (virtual staging overview).
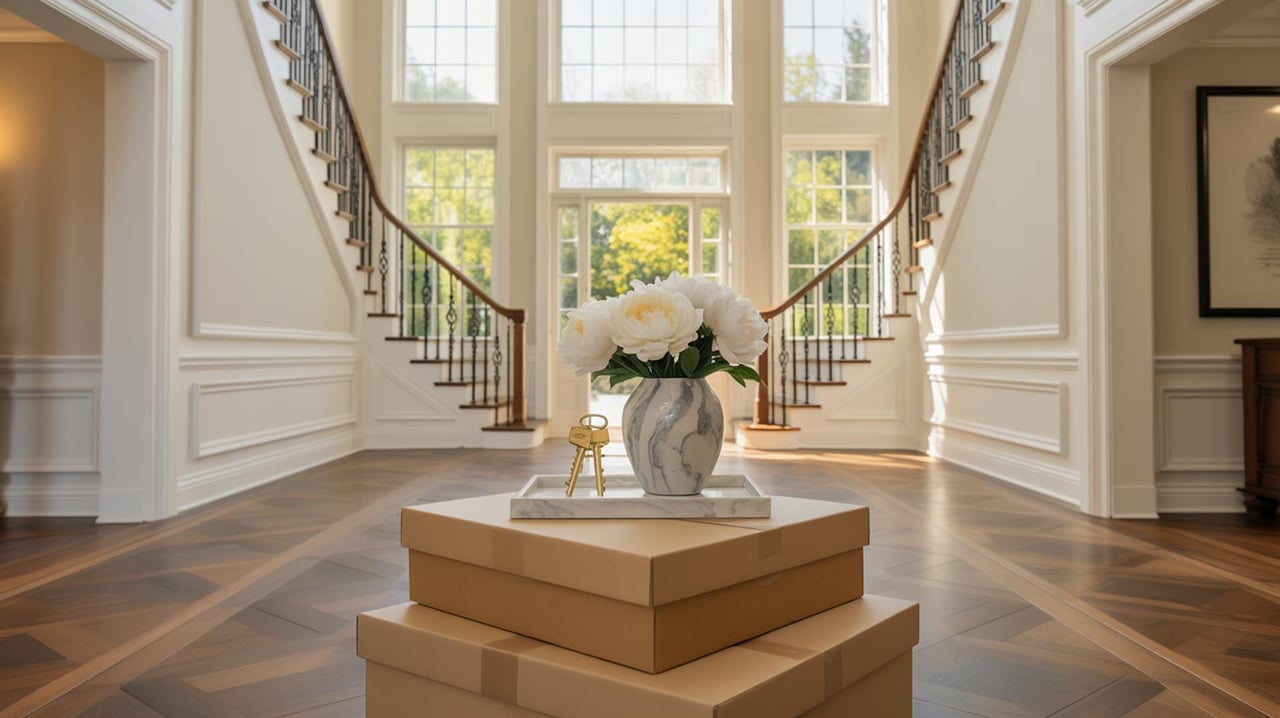
Local timeline to hit the market fast
- Three weeks out: meet with your agent to set scope, get a stager consult, and schedule handyman and landscaper. Order any fixtures or hardware you plan to swap.
- Two weeks out: complete deep cleaning, decluttering, paint touch-ups, and small repairs. Install any rental furniture or styling now.
- Photo week: once staging is in place, capture professional photos and a floor plan or virtual tour. Launch with strong online presentation to maximize early momentum (why first impressions matter).
Measure results so you can adjust
- Track days on market versus nearby comps.
- Watch weekly showings and the ratio of showings to offers.
- Compare offer strength to list price and to similar unstaged listings.
- Monitor online views and saves after updating photos or staging tweaks.
When to bring in a pro
If your home is vacant, time is tight, or rooms feel tricky to define, a professional stager can streamline the process. Ask for portfolios, insurance, and written quotes that detail scope and rental terms. Your agent can also recommend furniture rental partners that serve Westchester, including regional providers with fast delivery in the Tri-State area (furniture rental background).
Ready to sell with confidence? Let a seasoned local help you prioritize the right updates, coordinate staging and photography, and price with discipline. Reach out to Wendy Holt for a tailored plan and a smooth launch.
FAQs
What rooms should I stage first in an Ardsley home?
- Focus on the living room, kitchen, and primary bedroom because they most often shape buyer decisions and photos.
How much does staging cost around Ardsley?
- DIY refreshes often range from a few hundred to a couple thousand dollars, while partial or full professional staging can run higher depending on room count and rental length.
How long before listing should I start staging?
- Begin about three weeks before photos, leaving time for decluttering, paint touch-ups, small repairs, and installation of any rental furniture.
Do I need to stage a vacant house?
- Vacant rooms can feel smaller and less inviting, so consider at least partial staging or defined vignettes to show scale and function.
Can virtual staging replace physical staging?
- Virtual staging is great for photos at a lower cost, but physical staging still drives the in-person connection during showings.
What winter-specific steps help homes show well in Westchester?
- Keep walkways de-iced, boost warm lighting indoors, add seasonal greenery at the entry, and make interiors feel cozy with clean textiles and tidy rugs.